Before-and-After Photos for San Diego Contractors: How to Capture Them So They Sell
Great before-and-after photos are planned before demolition: you photograph the space from fixed viewpoints on day one, then return to those exact spots when the project is finished. Matched angles, similar light, and a clean frame are what make the change undeniable. Done well, one pair does more to sell your next project than a page of description.
November 6, 20267 min read
By Tom Van Vechten · Updated
Why do before-and-after photos sell remodeling work?
A finished room on its own shows taste. A before-and-after pair shows ability. The homeowner looking at your website has a dated kitchen of their own, maybe in a 1970s Mira Mesa tract home or a 1950s Clairemont ranch, and the pair answers the question they actually have: can this contractor turn mine into that?
Most contractors lose the before. By the time anyone thinks of marketing, the room has been gutted. The fix is simple: make the before shoot part of the project plan, the same way permits are.
The most persuasive before-and-after pairs are shot from exactly the same spot: same height, same lens, same framing. When the only thing that changes is the room itself, homeowners see the transformation immediately, without having to work out which wall is which.
How do you photograph the "before"?
Shoot before any demolition, ideally at the walkthrough or right after the contract is signed.
Pick two or three viewpoints per room that will still make sense after the work, such as a doorway or a corner.
Mark each spot: a photo of the tripod position, a measurement from a wall, or tape on the floor if the floor stays.
Note the height and the lens or zoom setting, so the after can match.
Shoot wide enough to include fixed reference points: windows, doorways, ceiling lines.
Take the same frames in the same order every time, so the set is easy to match later.
Honest befores sell better than staged-ugly ones. Shoot the room as it is, tidy but not exaggerated. Homeowners can tell when a "before" has been made to look worse.
How do you make the "after" match?
Return to the exact viewpoints. Same position, same height, same framing.
Match the light as closely as you can. The same time of day, or at least the same lights on and blinds open.
Clean the frame. Remove tools, tape, and the last of the construction dust before the after shoot.
Then shoot what's new. Add frames the before couldn't have: the new layout, the detail work, the finishes.
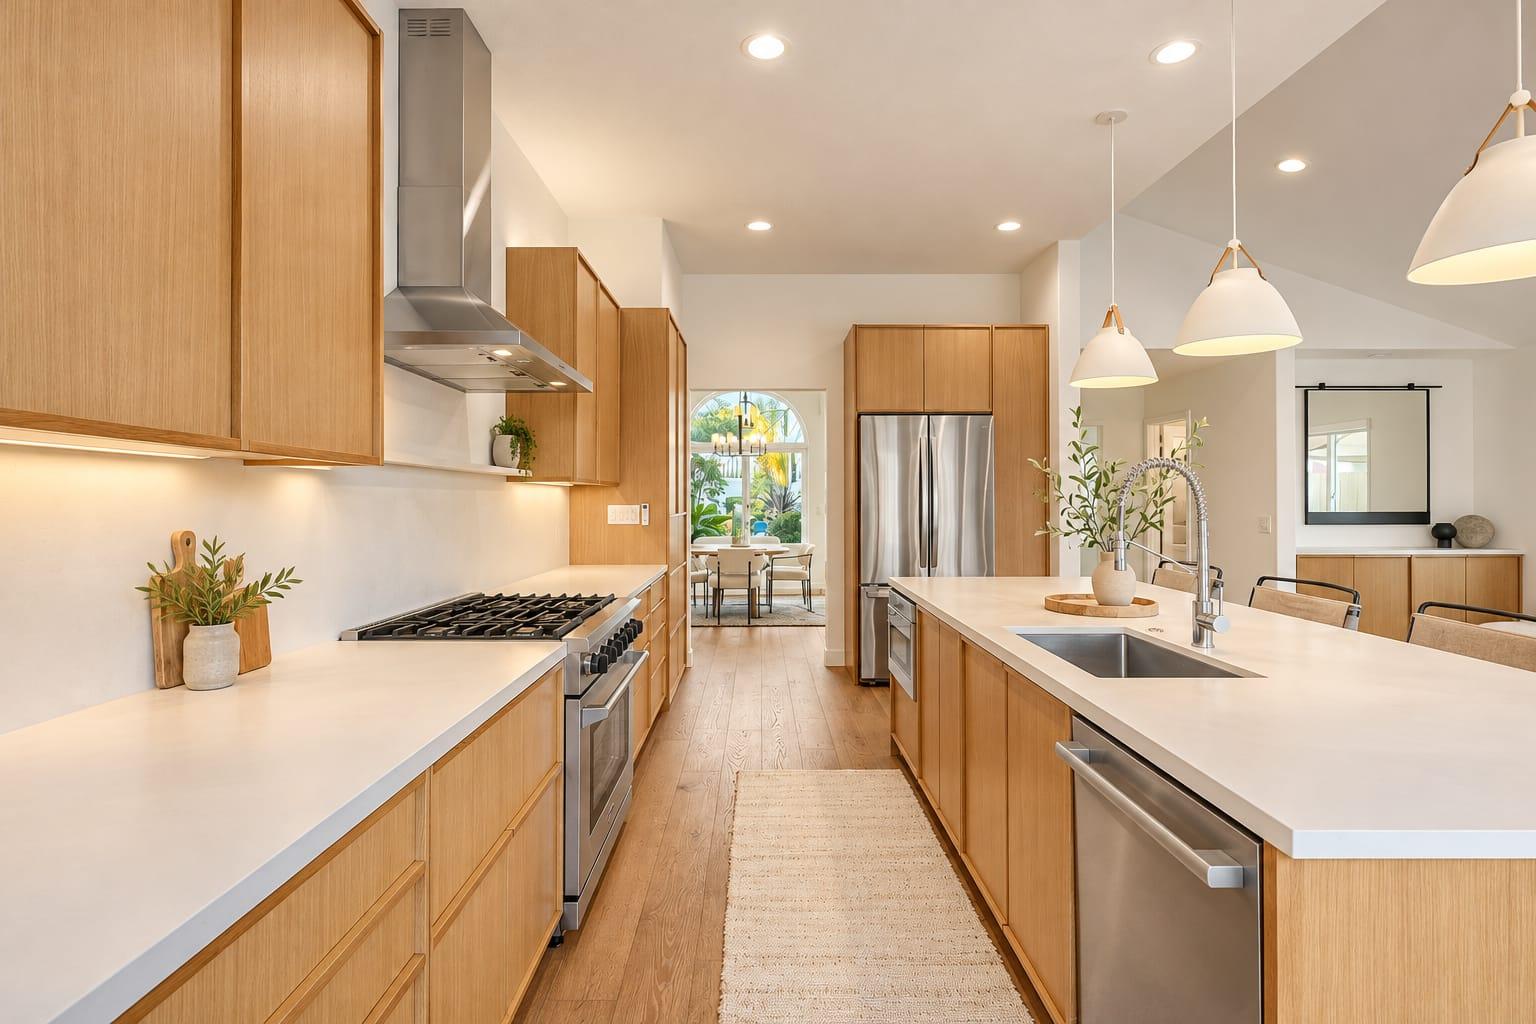
A finished kitchen shot from a doorway viewpoint: a spot you could mark on day one and return to.
What makes a before-and-after pair look unconvincing?
Different angles. If the before is shot from the doorway and the after from the corner, the viewer can't compare them, and some will assume the room was swapped.
Different light. A dark, yellow before next to a bright, white after looks like an editing trick, even when the change is real.
A messy before that hides the room. Piles of belongings make it hard to see what was actually changed.
An after that is digitally altered. Removing a scuff is fine. Adding finishes that aren't there is misleading, and homeowners will notice when they visit a finished job.
Too many pairs at once. Three strong pairs beat twenty weak ones.
The goal is a pair a skeptical homeowner trusts at a glance: the same room, the same view, clearly transformed.
How should before-and-after photos be presented?
Side by side works on a website and in proposals. A slider, where the viewer drags between the two images, works even better online because the change happens in place. On social media, post the before first and the after second, so the reveal does the work.
Label each pair with the type of project and the area, such as "Hall bath, Carlsbad" or "Garage-to-ADU conversion, North Park." Homeowners look for work like theirs, near them. A one-line note on what changed, such as "moved the vanity, added a curbless shower," helps them see the thinking behind the result.
Should contractors take progress photos too?
Yes, for two reasons. Progress photos protect you: they record what's inside the walls before drywall goes up, which helps with inspections, warranty questions, and future work. And a few of them make good marketing, because homeowners like to see how carefully the work is done.
Keep progress photos simple: the same viewpoints, at each major stage, from demolition to framing to rough-in to finish. Phone photos are fine for this. Save the professional shoot for the before and the after.
Do you need the homeowner's permission?
Yes. Put it in the contract or a short separate form: what you'll photograph, where you'll publish it, and that you won't show the address, house numbers, family photos, or anything personal. Most homeowners are happy to agree, especially when they see how good the result looks.
If a designer, supplier, or subcontractor wants to use the photos, they need their own license from the photographer. Our guide on photo ownership explains how licensing works.
Where should contractors use before-and-after photos?
A project page on your website, with the pairs side by side
Your Google Business Profile, posted as a project update
Social posts, where a before-and-after pair stops the scroll
Ads for that type of project, sent to the matching project page
Proposals and sales conversations, as proof you have done this exact job
Our remodeler marketing playbook covers the whole system. If you'd rather hand it off, our Before & After Story package, starting at $1,250, includes the pre-construction visit and the final shoot, matched frame for frame. See remodeler photography for details.
Kitchens and dated bathrooms usually produce the strongest before-and-after reactions, because the change is easy to see and easy to imagine in one's own home. Exterior transformations, like a new facade or a finished backyard, often perform well too.
Frequently asked questions
When should I take before photos?
Before any demolition, ideally right after the contract is signed or at the final walkthrough before work starts.
How do I make before and after photos line up?
Mark each viewpoint on day one, note the height and framing, and return to the same spots after the work, with similar light.
Can I use my phone for before and after photos?
For progress shots, yes. For the pairs you use in marketing, a professional set with matched framing and balanced light looks far better.
Do I need permission to post photos of a client's home?
Yes. Get it in writing, and leave out the address and anything personal.
How much does a professional before-and-after shoot cost in San Diego?
It takes two visits, a pre-construction visit and a final shoot, so it costs more than a single shoot. Our Before & After Story package starts at $1,250, including the pre-construction visit and the final shoot, matched frame for frame.
Do you shoot before-and-after projects across San Diego County?
Yes, from Chula Vista and La Mesa to Carlsbad, Encinitas, San Marcos, and Escondido.
Planning a shoot
Tell us about the project and how you plan to use the images. We reply with a scoped quote.