Kitchen Remodel Photography: The Shot List for San Diego Contractors
A kitchen remodel shot list should start with two or three wide frames that show the layout and the flow to the living space, then move to the island, the range wall, and the details that justify the budget: cabinetry, hardware, stone, tile, and lighting. Shoot it after the final clean and before the homeowner moves back in, with every light on and the counters nearly bare. In San Diego, editorial interior photographers publish half-day rates of about $1,800–$1,950, and our project portfolio shoot starts at $750.
November 7, 20268 min read
By Tom Van Vechten · Updated
Why are kitchen photos the most important remodel photos?
Kitchens are among the remodels San Diego homeowners spend the most on, and they compare finished examples closely before choosing a contractor. When someone in Carlsbad or Point Loma searches for a kitchen remodeler, they compare finished kitchens on websites, Google profiles, and Instagram. The contractor with the clearest, most convincing photos of a nearby kitchen gets the call.
A kitchen is also hard to photograph well. Reflective surfaces, mixed lighting, and dark corners trip up phone photos more than any other room.
Which wide frames should every kitchen shoot include?
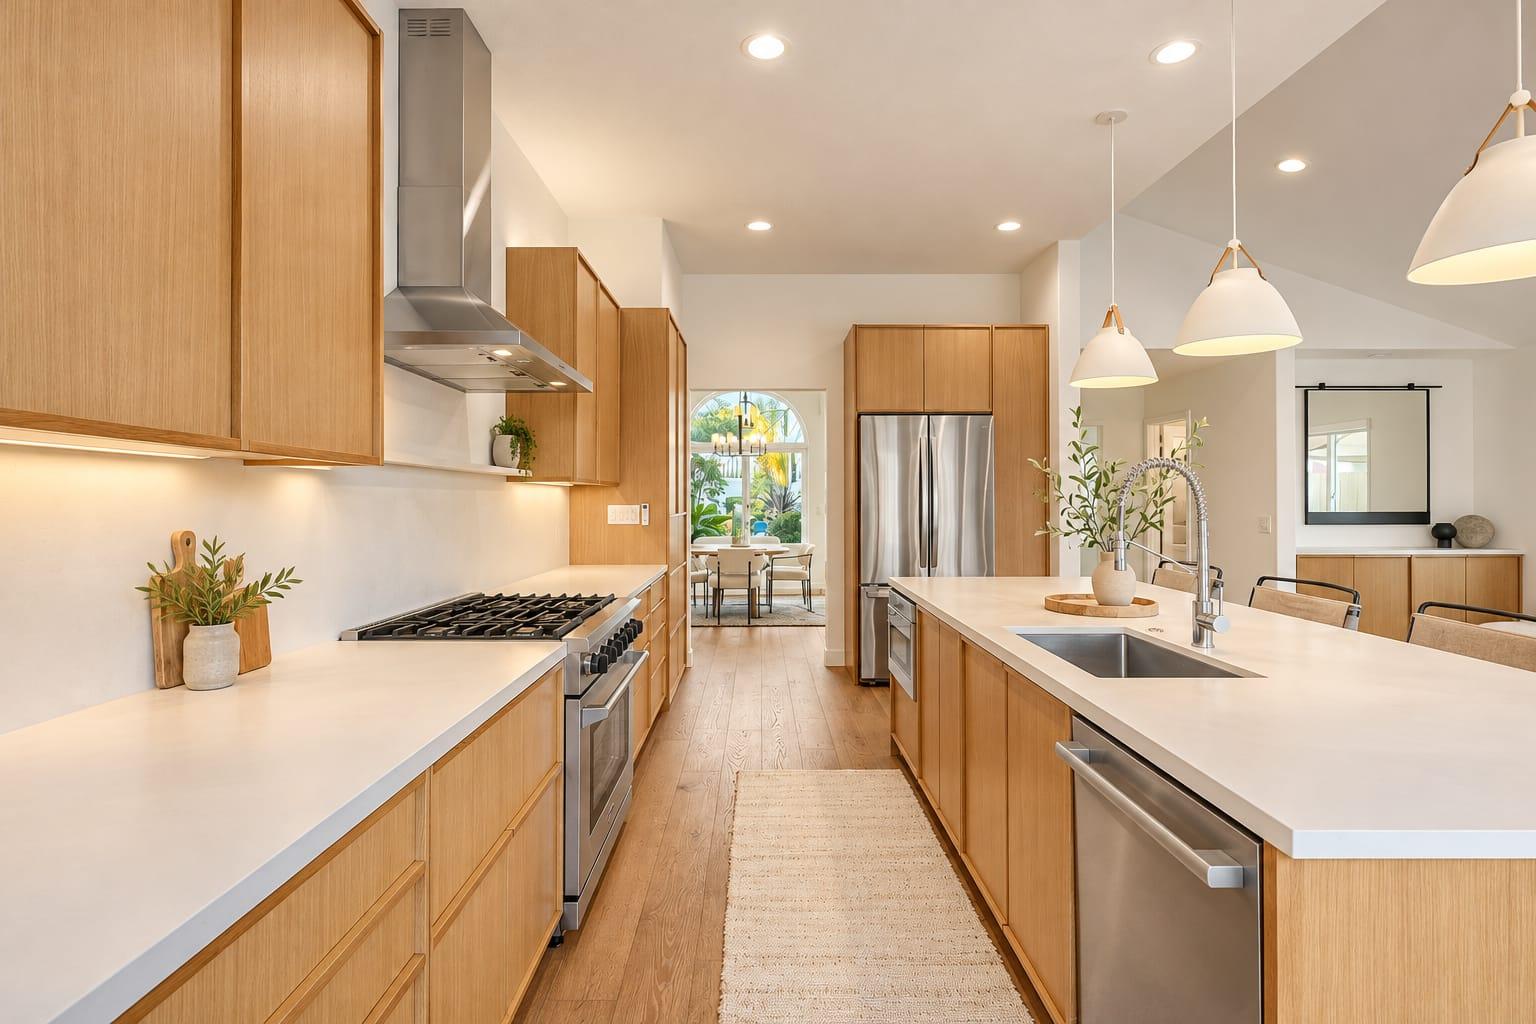
The hero wide. From the corner or doorway that shows the most of the kitchen and the island.
The flow frame. Kitchen with the dining or family room, showing how the space connects.
The opposite angle. Looking back the other way, often toward the range wall or the windows.
Straight-on elevations. Square to the range wall and the sink wall, for a clean architectural look.
A hero wide from the doorway shows the layout, the island, and the main work wall in one frame.
Which kitchen details should you photograph?
Cabinet hardware and the door style
The countertop edge and the transition to the backsplash
Every light on. Pendants, cans, and under-cabinet lights, all the same color temperature.
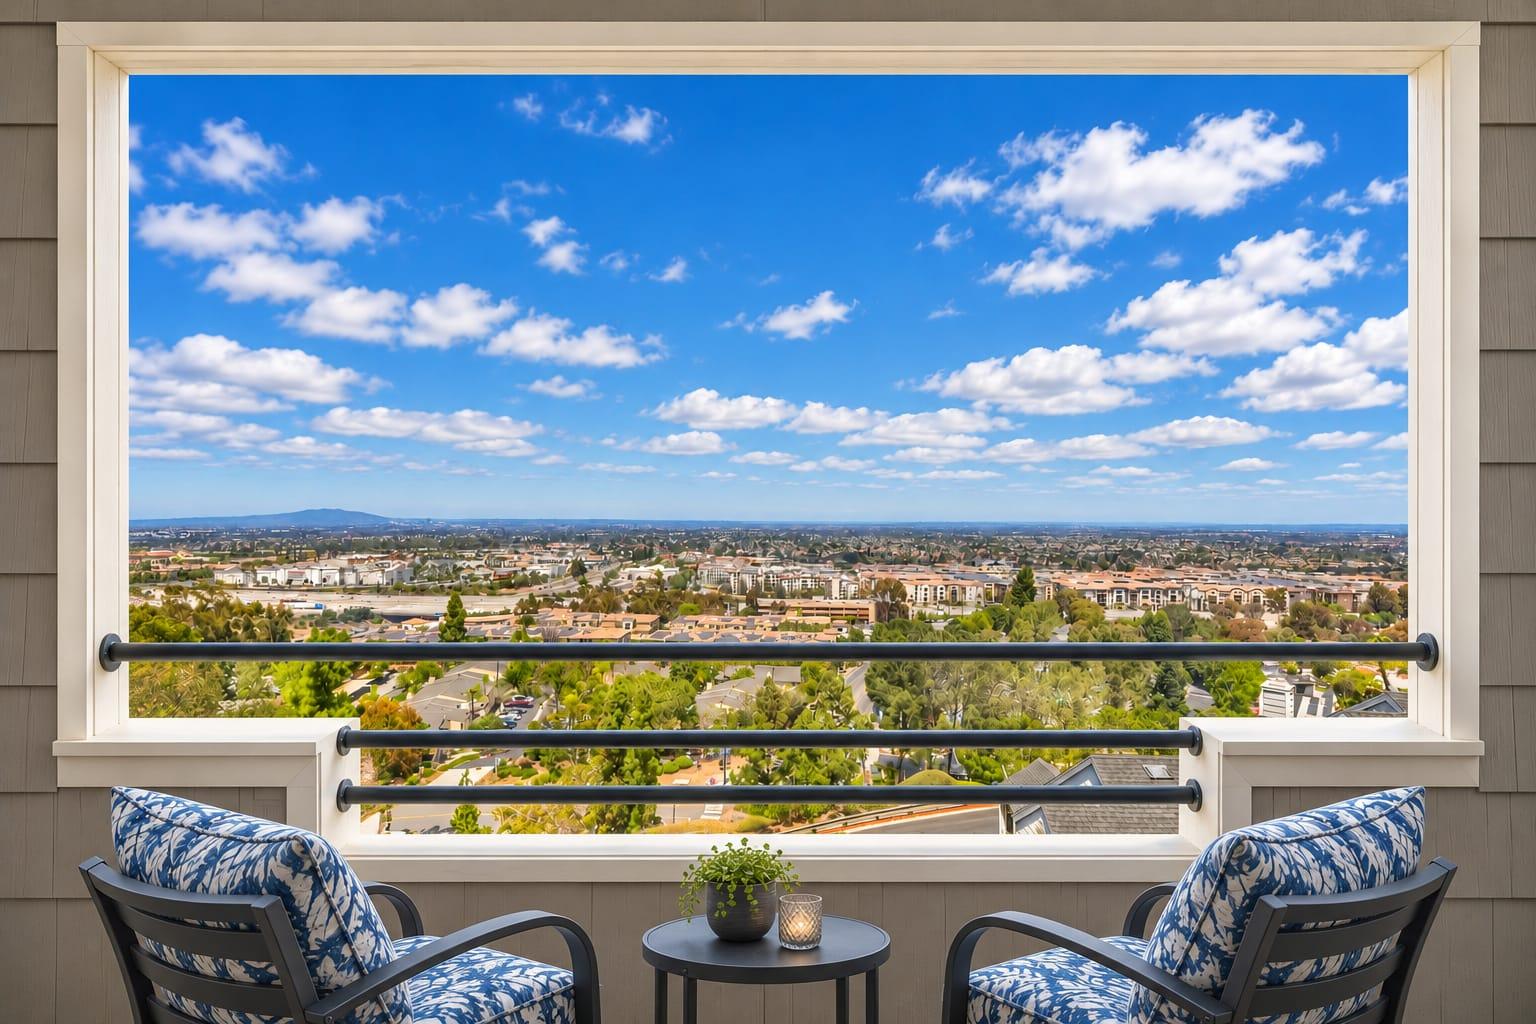
Window light balanced. The view outside should still show, not blow out to white.
Reflections controlled. Glossy cabinets, stone, and stainless reflect the photographer and the room. Angles fix most of it.
Time of day. Shoot when direct sun isn't streaking across the counters.
Glossy cabinets, stone counters, and mixed lighting are the main challenges in kitchen photos. They're handled by turning on every light, balancing it with window light, and choosing angles that avoid strong reflections in shiny surfaces.
How should you style a kitchen for photos?
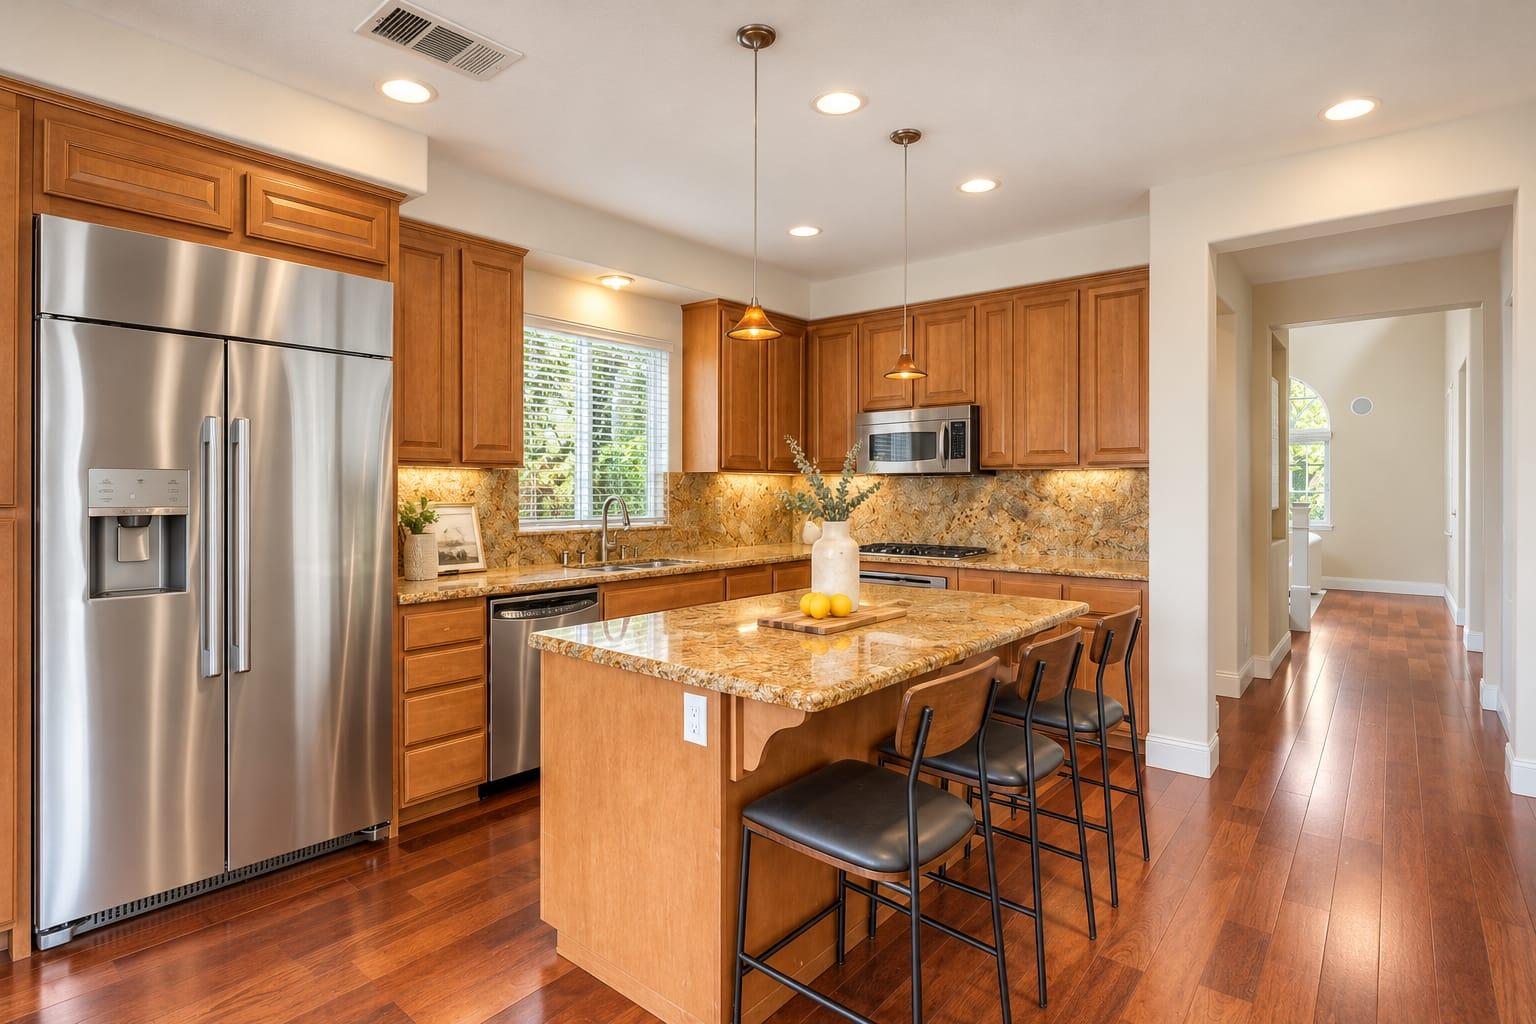
Less than you think. Clear the counters completely, then add back two or three objects: a bowl of lemons, a cutting board, a small plant. Remove the dish rack, paper towels, magnets, small appliances, and the trash can. Turn bar stools so they line up with the island.
If the homeowner has moved back in, ask for an hour to reset the kitchen before the shoot. It makes a bigger difference than any lens.
What are the most common mistakes in kitchen remodel photos?
Shooting before the final clean. Dust on counters and fingerprints on stainless show at full resolution.
Mixed light. Warm pendants with cool can lights make the cabinets look two different colors.
Counters full of the homeowner's things. Toasters, mail, and dish racks hide the stone you installed.
Only one angle. A single wide frame can't show the island, the range wall, and the flow together.
No details. The hardware and the edge profile are where the craft shows, and they're often skipped.
Phone ultra-wide distortion. Cabinets bowing at the edges of the frame make the kitchen look cheap.
How do you photograph a kitchen after the homeowner moves back in?
It's common: the project finishes, the family moves back, and the photos come later. Ask the homeowner for a short window and a few simple steps. Clear everything off the counters and the fridge door, hide the trash can and dish soap, and open the blinds. The photographer can do the final styling with two or three objects. A thirty-minute reset turns a lived-in kitchen into a portfolio frame, and most homeowners are happy to help when they know their kitchen will be featured.
Should you capture a before photo of the kitchen?
Yes, if you can. A matched before-and-after pair of a dated San Diego kitchen turned into a new one sells the next project better than any finished photo alone. Shoot the before from the same viewpoints you plan to use for the after. Our before-and-after guide covers how.
How much does kitchen remodel photography cost in San Diego?
Published San Diego and Los Angeles rate cards, checked November 2026.
Kitchen frames that tend to get the most response online are the wide shot showing the whole layout and a close detail of the island or the range wall, the features homeowners most want in their own kitchen.
Frequently asked questions
How many photos should a kitchen remodel have?
Three or four wide frames plus five to ten details is a strong set for a portfolio.
When should a remodeled kitchen be photographed?
After the final clean and before the homeowner moves back in, with every light on and the counters cleared.
How much does kitchen remodel photography cost in San Diego?
Published Southern California editorial half days run about $1,800–$1,950. Our project portfolio shoot for contractors starts at $750.
How do you photograph glossy cabinets?
With careful angles and balanced light, so reflections of the room and the photographer are kept out of the frame.
Can you photograph a kitchen after the family moves back in?
Yes. A thirty-minute reset of the counters and fridge door before the shoot is usually all it takes.
Can my cabinet maker or designer use the photos?
Yes, with their own license from the photographer.
Planning a shoot
Tell us about the project and how you plan to use the images. We reply with a scoped quote.